📃 Article Editing
Article editing is the core feature of Blossom, mainly relying on Codemirror6 and Markedjs.
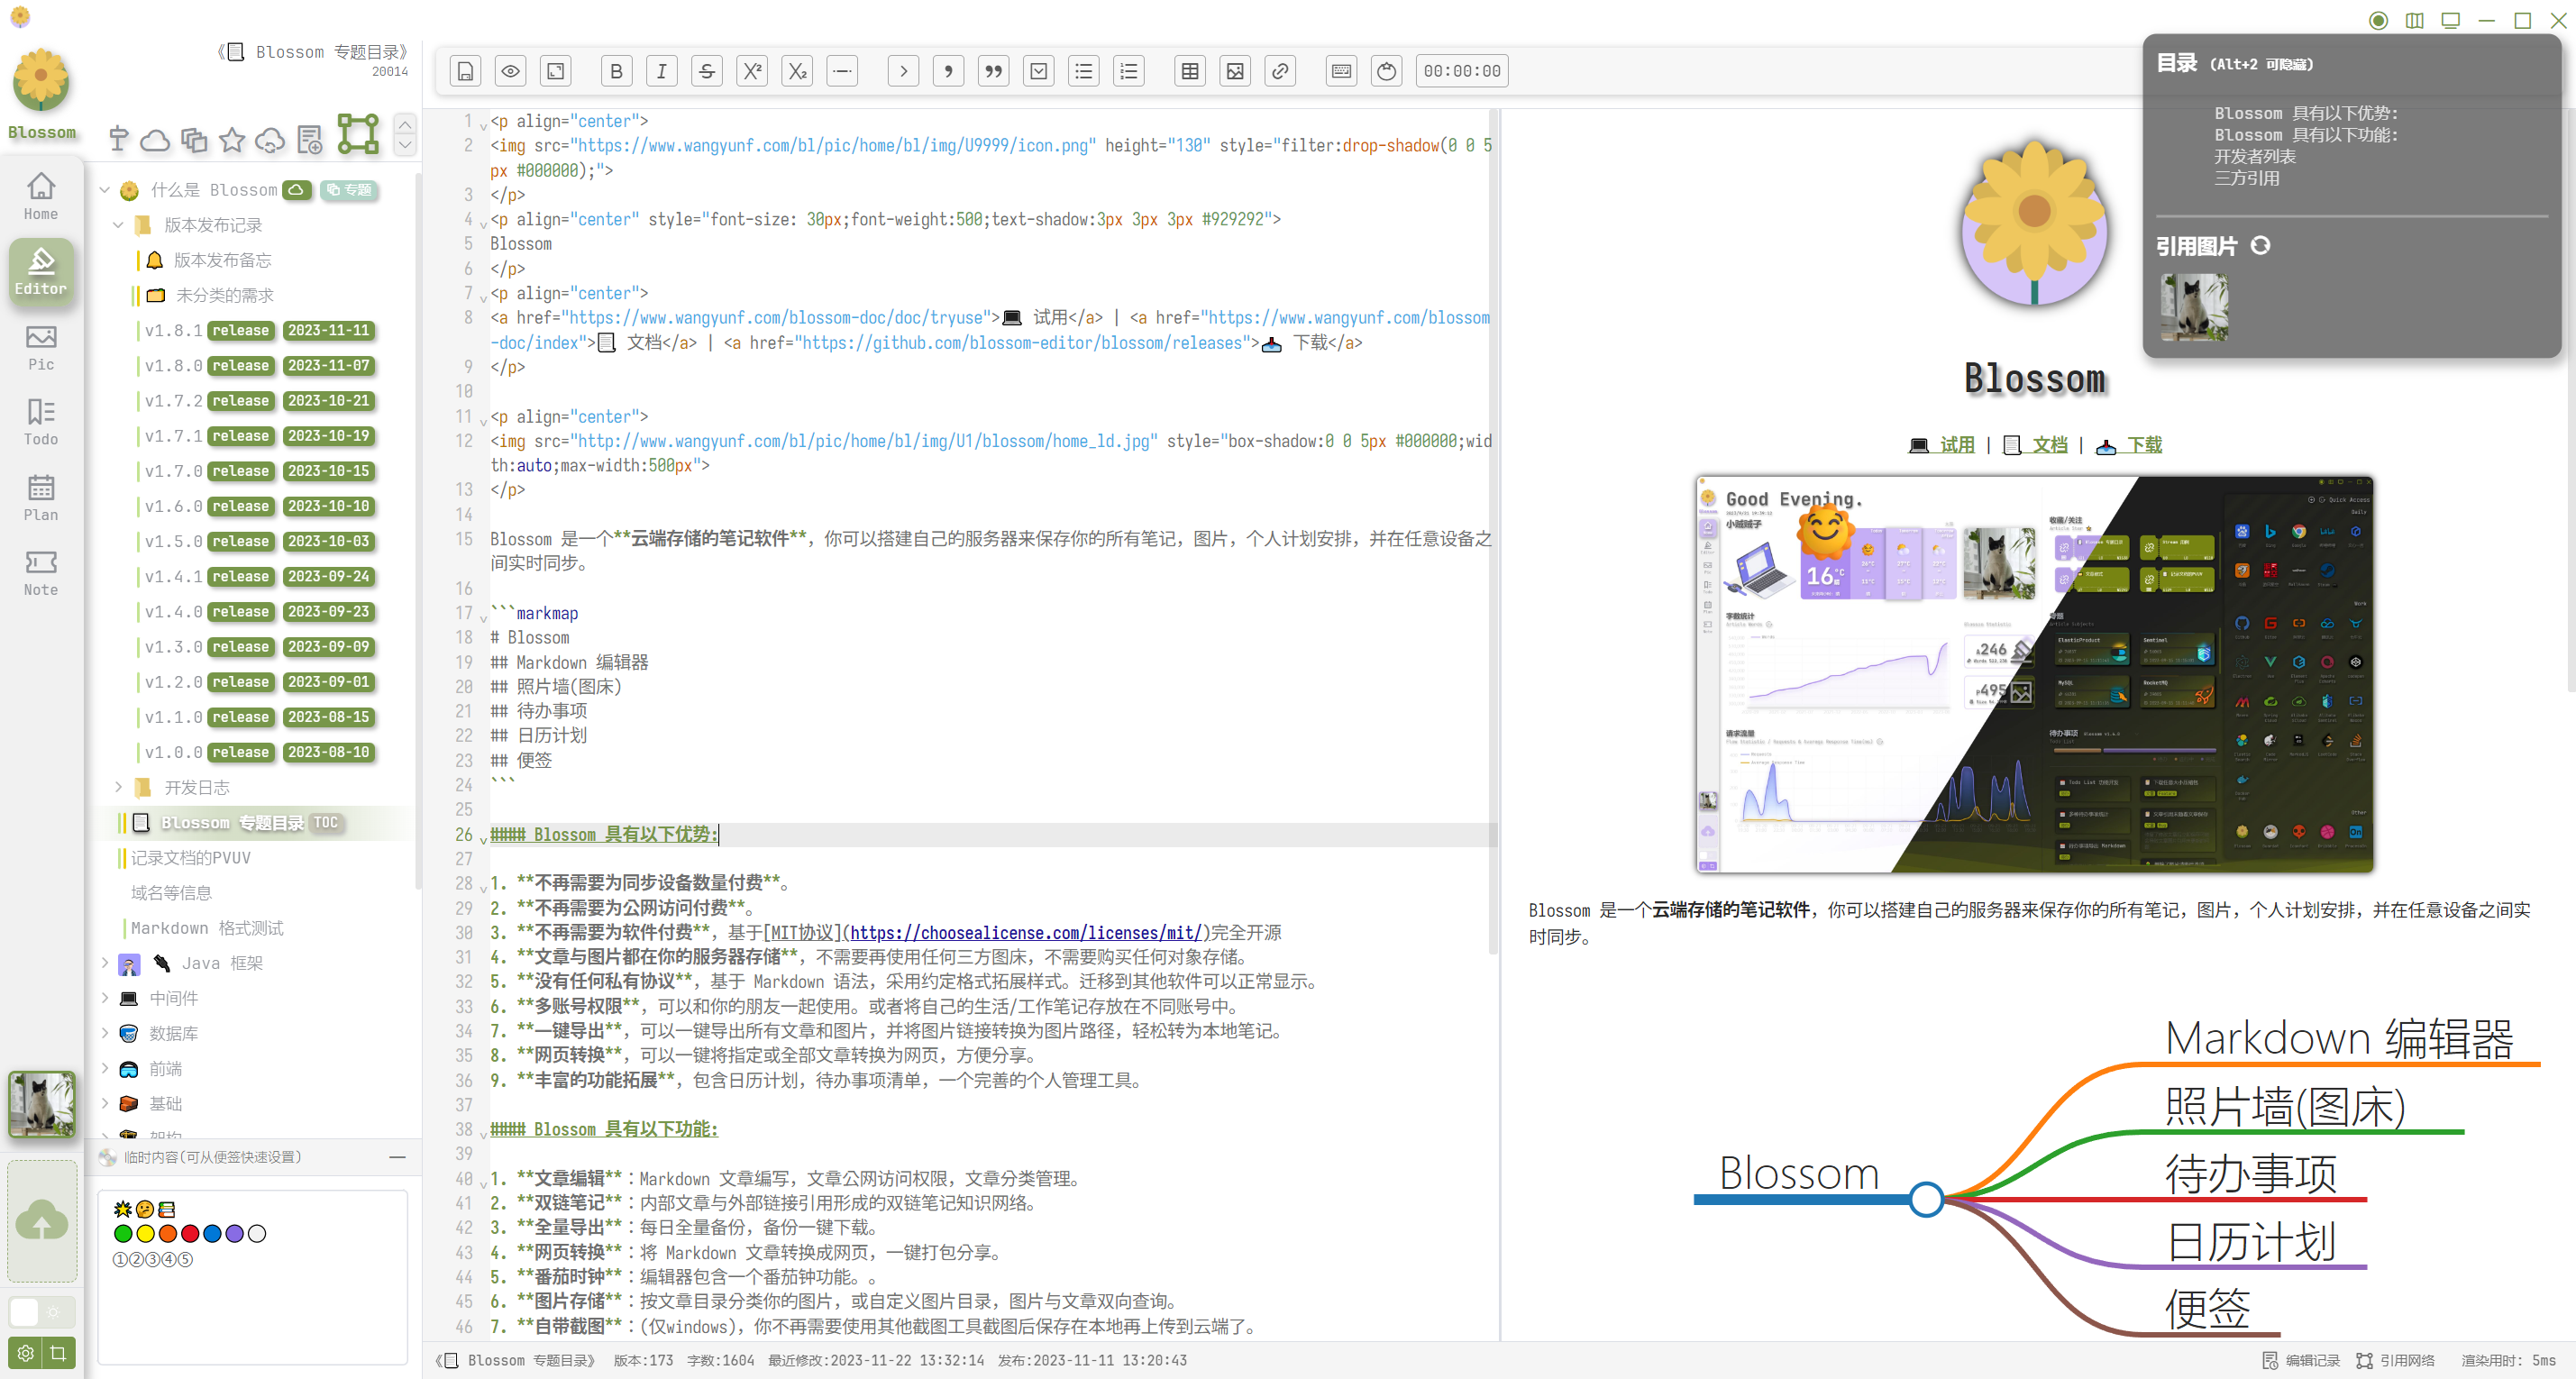
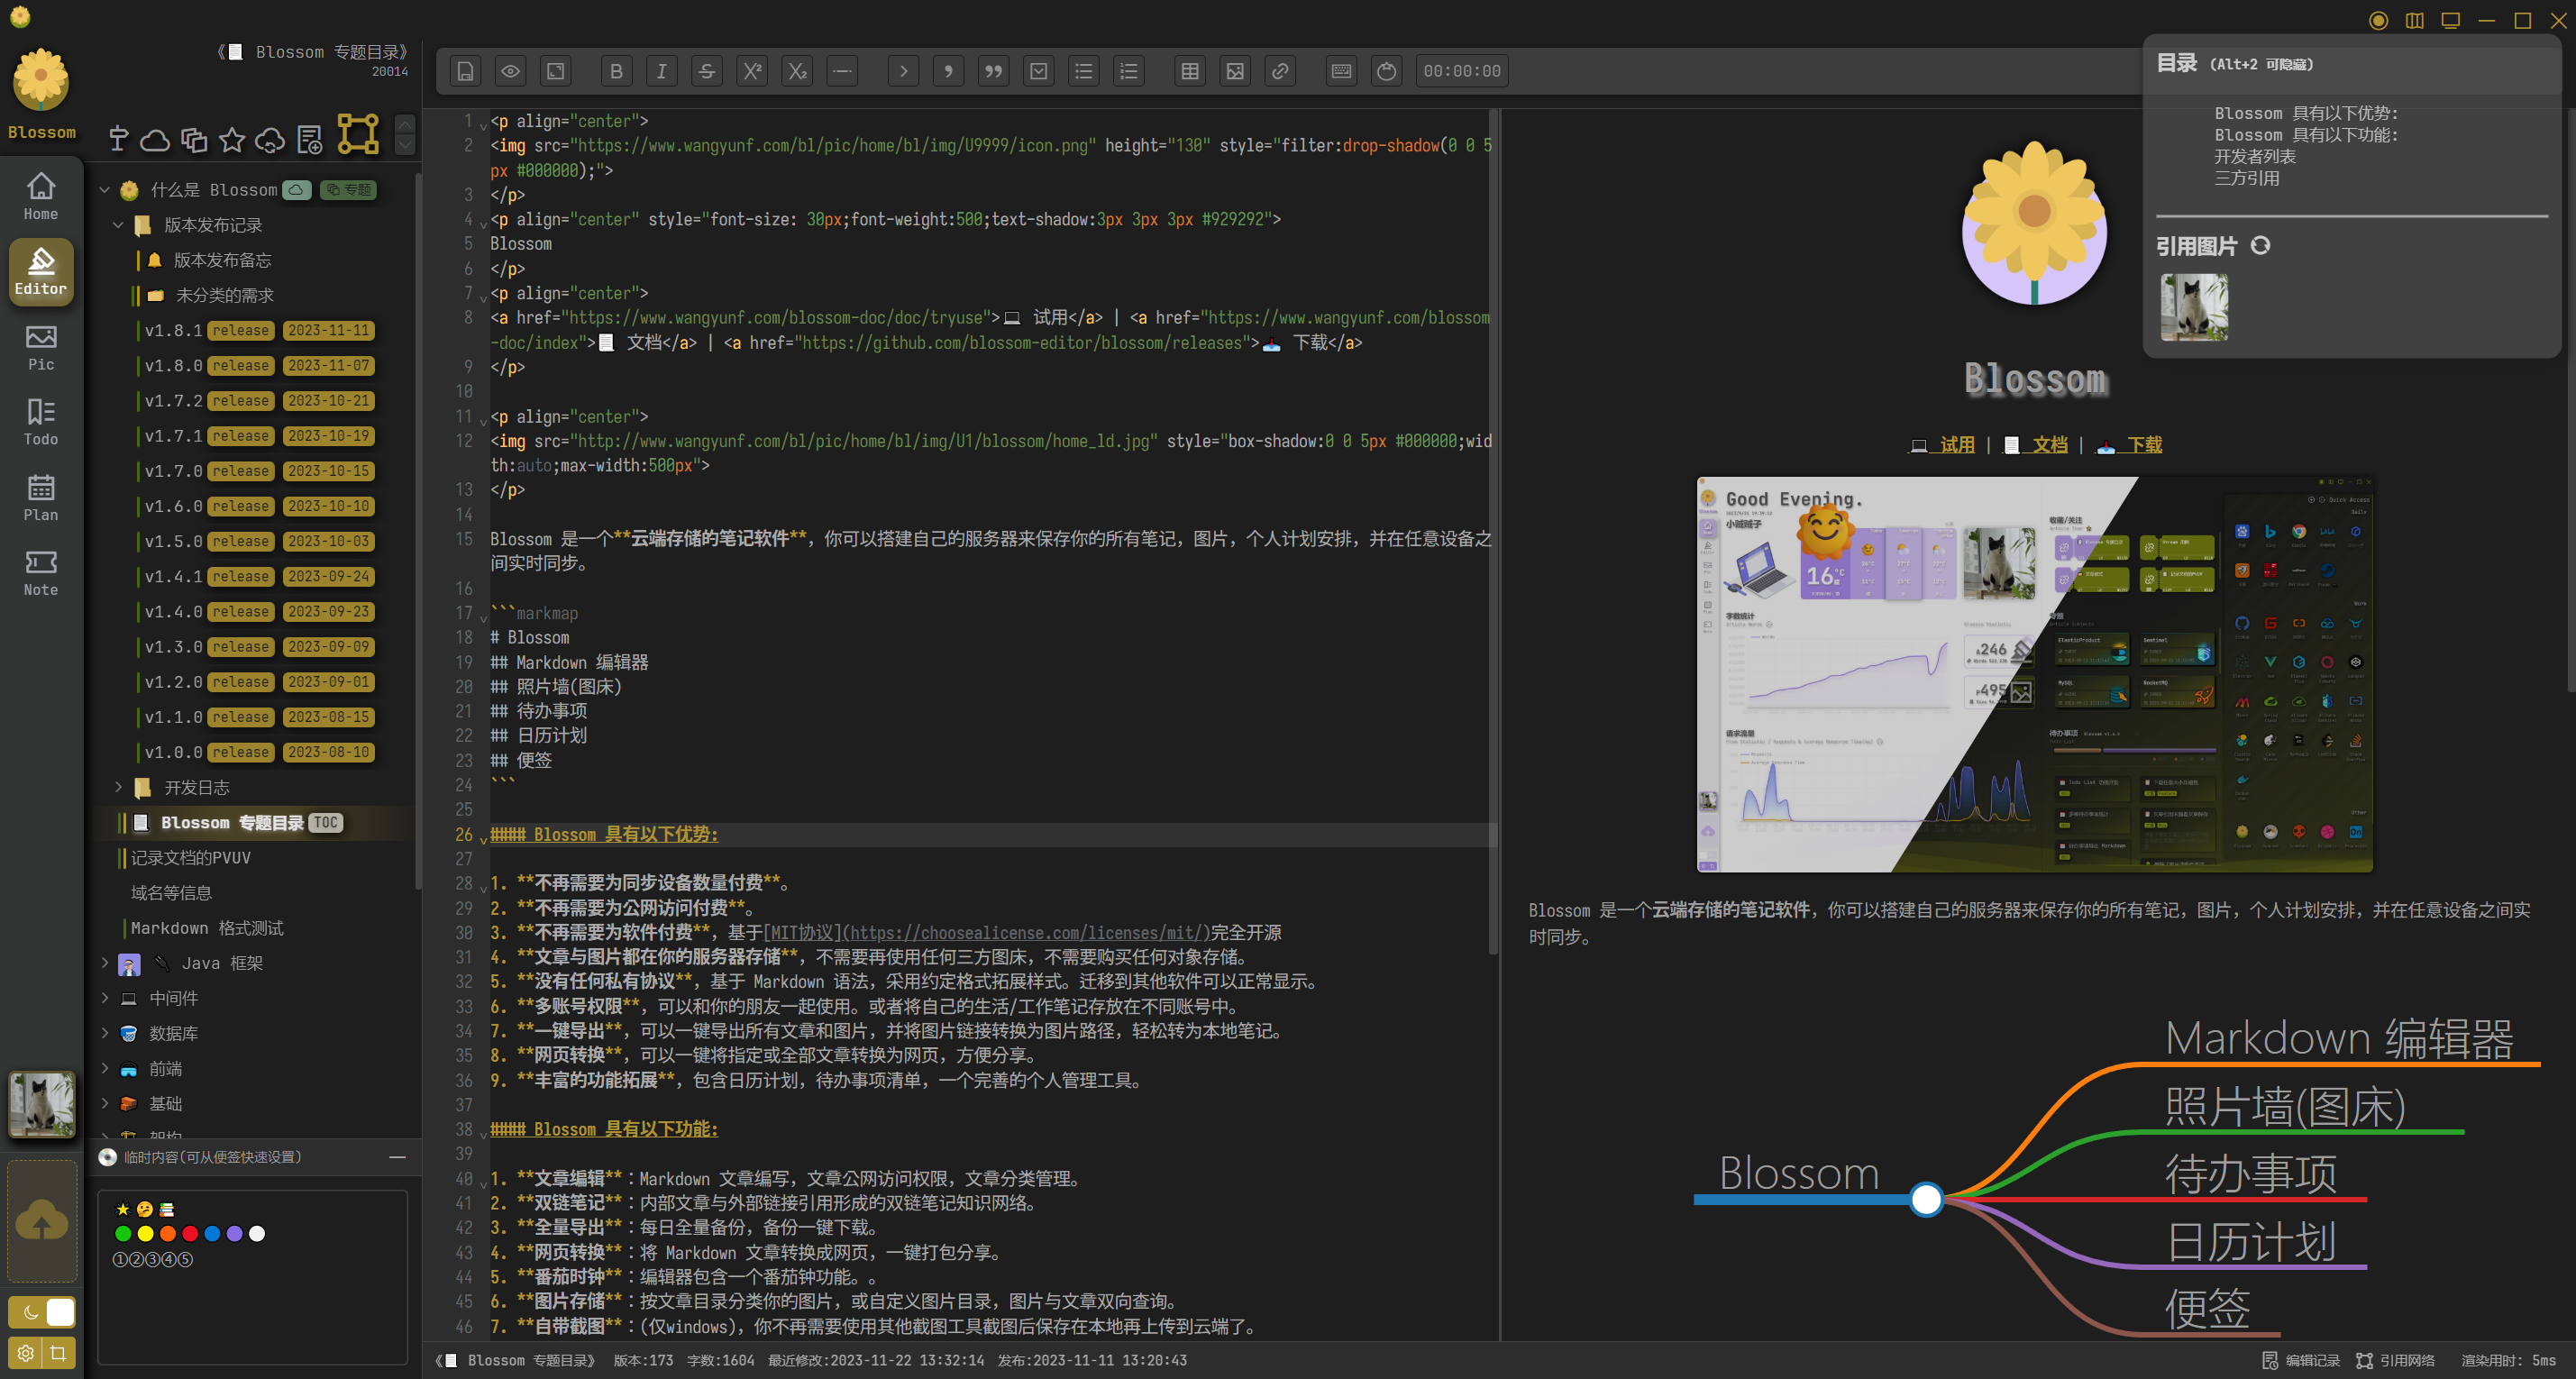
Currently, the article editor is in a dual-screen preview mode, and the WYSIWYG (What You See Is What You Get) feature is under development (based on Prosemirror).
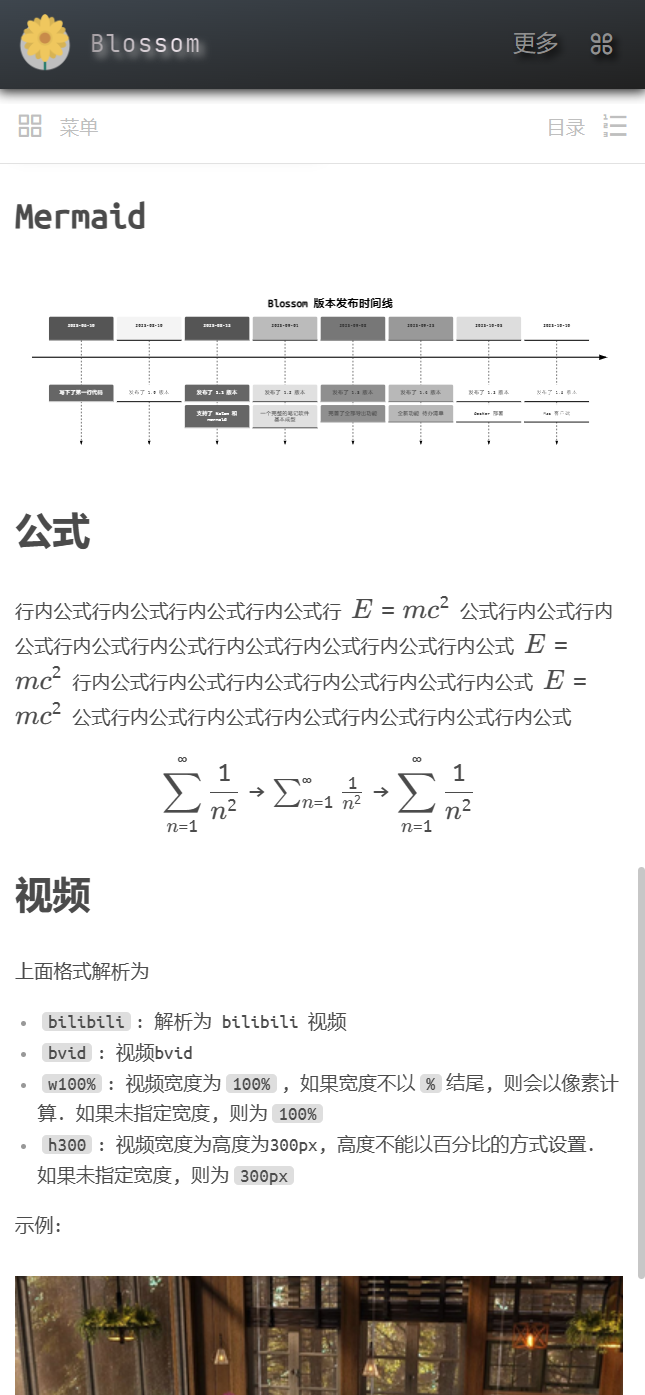
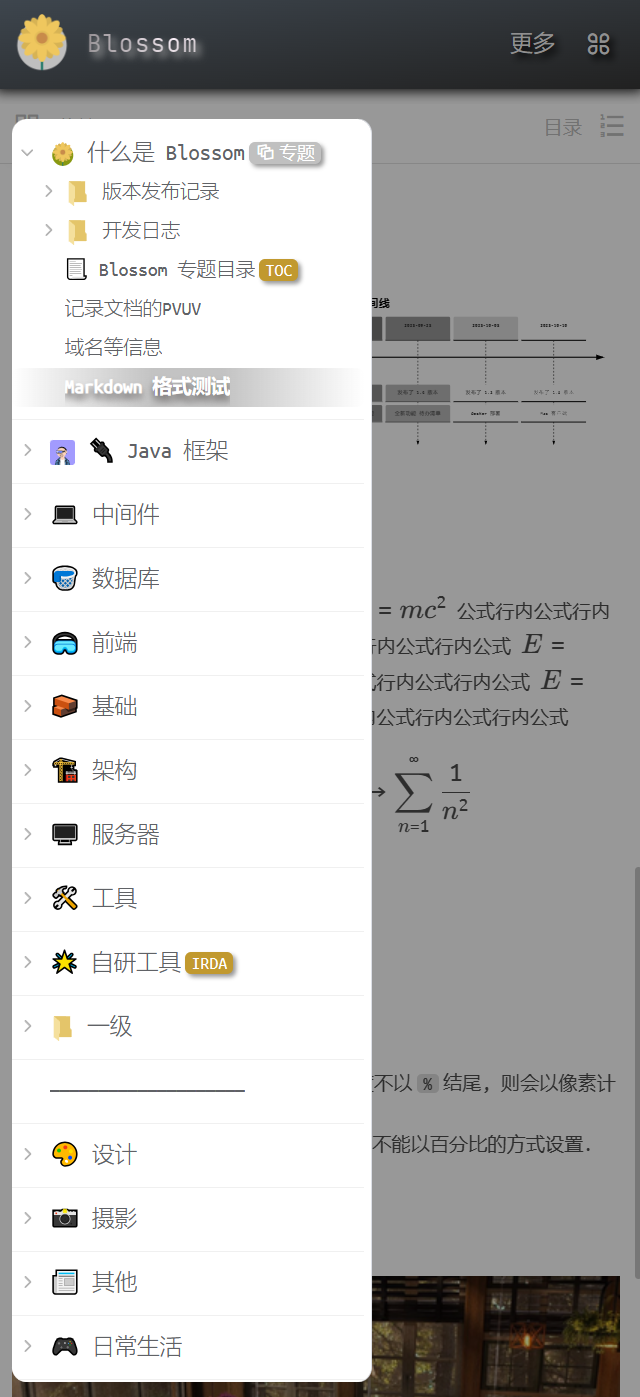
Mobile Style
Document Workbench

The console is located in the upper left corner of the page, and the upper functions are as follows:
- Article recycle bin.
- Back up records.
- Full-text search.
- Check the knowledge network.
The following functions are:
- Display the article order.
- Add an article to the root directory.
- Add a folder to the root directory.
- Search for documents.
- Refresh the document list.
- Focus on the currently open file.
- Collapse the document list.
The View Knowledge Network will be explained in detail later.
Document Tree Menu
The document menu is a tree menu composed of "folders" and "articles". You can use the shortcut Alt/Cmd + 1 to toggle display/hide. This shortcut is the same as the Jetbrains series of products and cannot be modified for now.
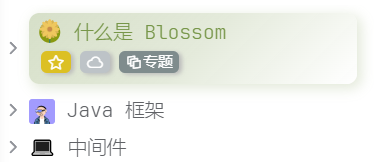
Document Tree Menu Title
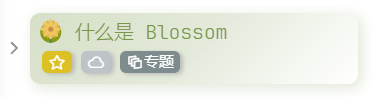
When a folder serves as a topic, it will have a special style, as shown in the above picture.
The green label in the lower left corner indicates that the folder is in the public state, and the topic label will be accompanied by an icon, while other labels only show text.
Attention
Making a folder public does not make all the articles under it public. Articles still need to be manually made public one by one.

The title of a regular article will have three different vertical lines, as shown in the picture above. They represent:
- Red: The article version has differences from the public version. You can click the right mouse button to sync, or sync in the article details.
- Green: The article is a public article.
- Yellow: The article has been favorited.
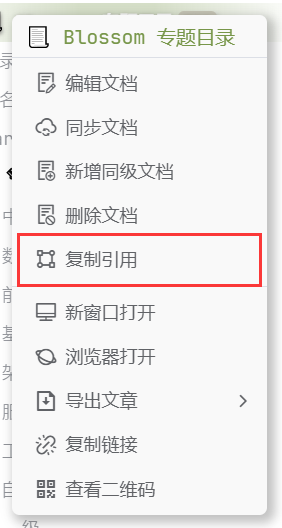
Document Right-Click Menu
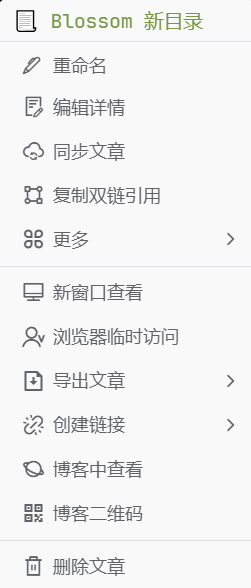
Right-clicking on an article or folder will bring up a menu:
- Copy Double-Chain Reference: Copy the internal reference link of the article.
- Export Article:
- Export the article in Markdown format.
- Export the article in Markdown format, and the article path will be modified to the local file path, and related images will be exported together.
- Export the article in Html format.
- Export the article in Html format, and the article path will be modified to the local file path, and related images will be exported together.
- Copy Link:
- Copy blog link: If it is a public article, you can copy the public network access link of the article.
- Copy temporary access link: Copy the temporary link.
- View in Blog: If it is a public article, you can view it in the blog, provided you need to deploy the blog.
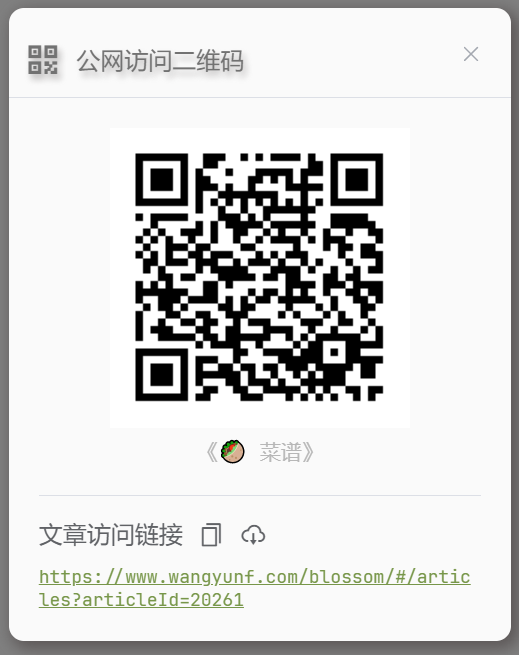
- Blog QR Code: Open a QR code popup window, which can be scanned with a mobile phone to access the article. The article must be public to generate a QR code.
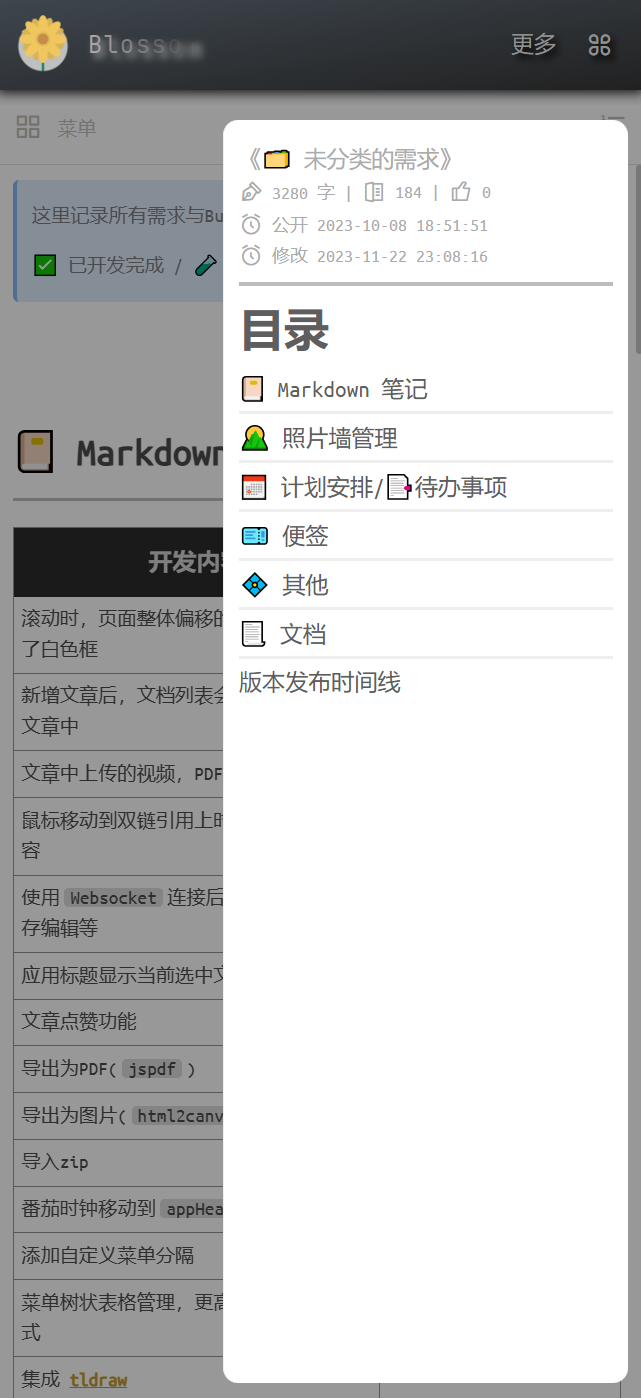
Basic Information of Articles and Folders
Right-clicking on the document to edit, or clicking the add button on the workbench will take you to the details page.
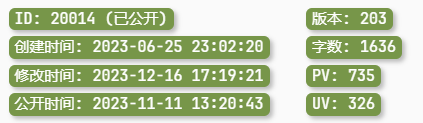
The above picture shows the basic information of an article or folder. The four items explicitly displayed on the right side are:
- Version: The version number increases each time the article is saved.
- Word count: Word count of the article, only counts Chinese and English words.
- PV: The number of times a public article has been accessed.
- UV: The number of times a public article has been accessed by each IP.
How to Make an Article Public?
You can right-click on the article, select [More] => [Public]
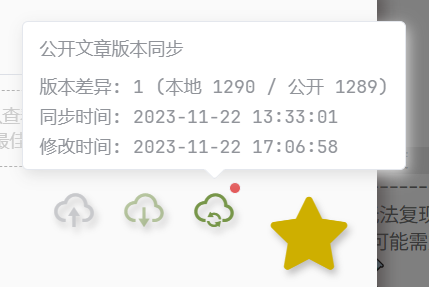
You can also right-click to select [Edit Details], then click the button in the above picture, which includes:
- Public Article: Public articles can be accessed by anyone through the blog on the public network.
- Unpublic: Cancel the public access permission for the article.
- Sync Article: After editing, the article will be saved as a draft and can only be accessed through the client. To view the latest content in the blog, you need to synchronize through this operation. When an article needs to be synchronized, hovering over the sync button will prompt the version difference.
- Favorite Article: Favorited articles will be displayed on the homepage, and can also be queried in the favorite list.
In the document list, if the document name is preceded by a red vertical line, it also means that the public version of the article is different from the editing version, as shown in the figure below.
How to Create Topics and Directories?
You can right-click on the folder and select [More] => [Set as Topic]
You can right-click on the article and select [More] => [Set as Topic Directory]
You can also add subject tags to the article to set it as a topic, and add toc tags to set it as a directory.
How to Set the Physical Path for File Upload?
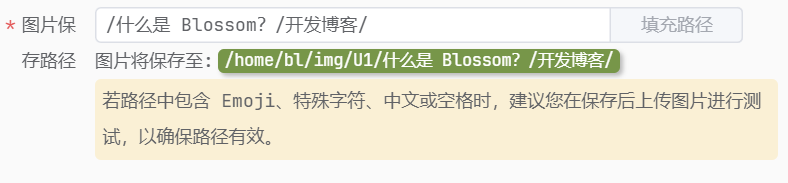
In the details of editing, you can set the physical path where the files in this folder will be saved when uploading files. Only folders can set the upload path, and articles cannot specify the upload path.
Attention:
- If a folder has already uploaded images, changing the folder path will not change the location of the previously uploaded images. The images are still in the original path. Therefore, it is not recommended to modify this value after uploading images.
- If you find managing images very troublesome, you can also not modify this value, so that all images will be uploaded to the image root directory specified by the server. Just be careful not to have duplicate names for the images.
- The author does not recommend including emojis, Chinese characters, or special characters in the article path. If you need to use them, be sure to test thoroughly.
How to Create Double-Chain References?
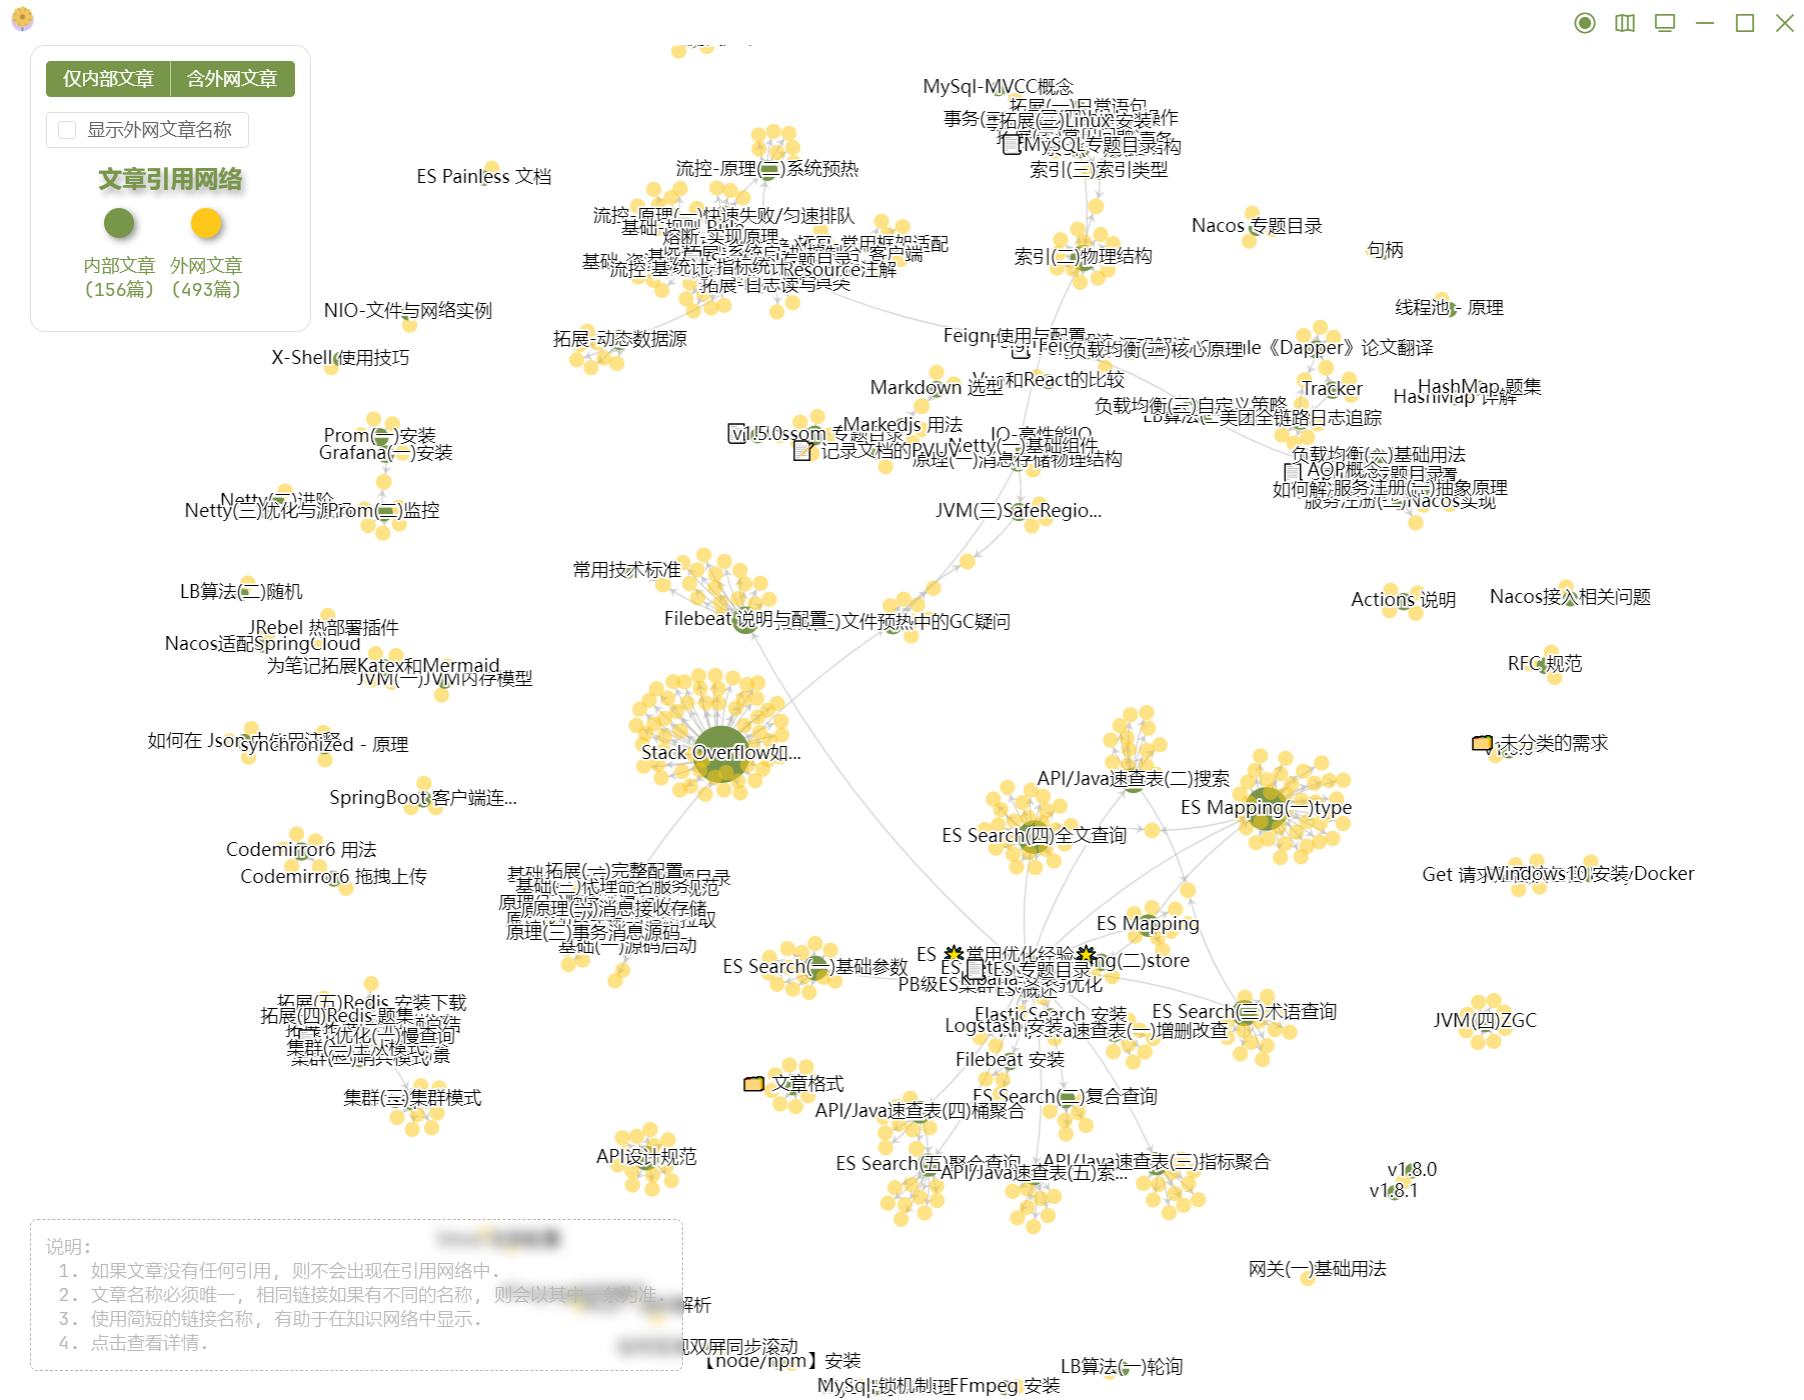
The article reference network is the core function of articles, mainly built through the parsing of Markdown links.
In articles, all links are divided into internal references and external references. Internal references refer to articles created in this application, while external references are other reference links. These links form a knowledge network, where you can quickly view the structure of your articles or jump to the corresponding articles.
To distinguish between internal references and external references, you need to follow different Markdown formats when filling in the links.
# External Reference
[Link Name](http://www.domain.com 'Link Title')

# Internal Reference, an ID is added after the title
[Link Name](http://www.domain.com 'Link Title##Internal Article ID##')
# External Reference
[Link Name](http://www.domain.com 'Link Title')
# Internal Reference, an ID is added after the title
[Link Name](http://www.domain.com 'Link Title##Internal Article ID##')To create references more easily, we provide a shortcut to create references, as shown in the figure below:
When clicking on an internal reference link in the preview page, a temporary window will open to view the article. Clicking on an external reference link will open the link in the default browser.
Warning
When creating internal reference links, do not set two different links with the same name, as it will cause the reference network to build failure. Below is an example of an error:
# Internal reference 123
[Baidu](http://www.domain123.com '##123##')

# Internal reference ABC
[Baidu](http://www.domainABC.com '##ABC##')
# Internal reference 123
[Baidu](http://www.domain123.com '##123##')
# Internal reference ABC
[Baidu](http://www.domainABC.com '##ABC##')Attention
If an article doesn't reference any links or isn't referenced by any links (i.e., isolated), it won't appear in the reference network (this is primarily for the sake of network construction speed). If you want an article to appear as an isolated node in the knowledge network, one solution is to reference the article from itself.
Tip
Try to create short names for links. Excessively long names may affect the overall display of the network, and the overly long parts will be hidden.
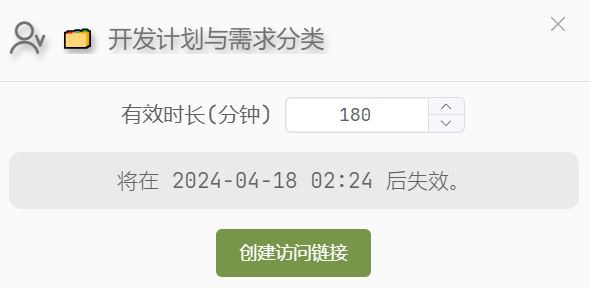
Temporary Access to Articles
Temporary access to articles is a simple web-based access method that can be used to share non-public articles for others to access via the web. Temporary access can only be obtained through the client-generated link, and each link is valid for 3 hours.
Links can be generated by right-clicking on articles. You can also set the duration of temporary access, also in the right-click menu in the Create link option.
Temporary Content
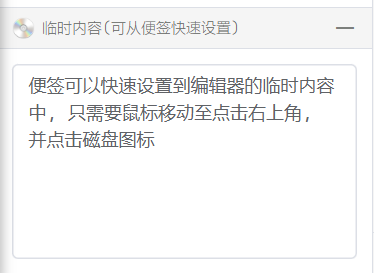
At the bottom left is the temporary content. Temporary content can be used to save frequently copied and pasted content, such as some commonly used emojis or tags, like: ①②③④⑤🟢🟡🟠. Temporary content can also be linked to notes, as seen in the Notes section.
You can click on the top right corner of the tag to minimize the temporary content page.
Tools
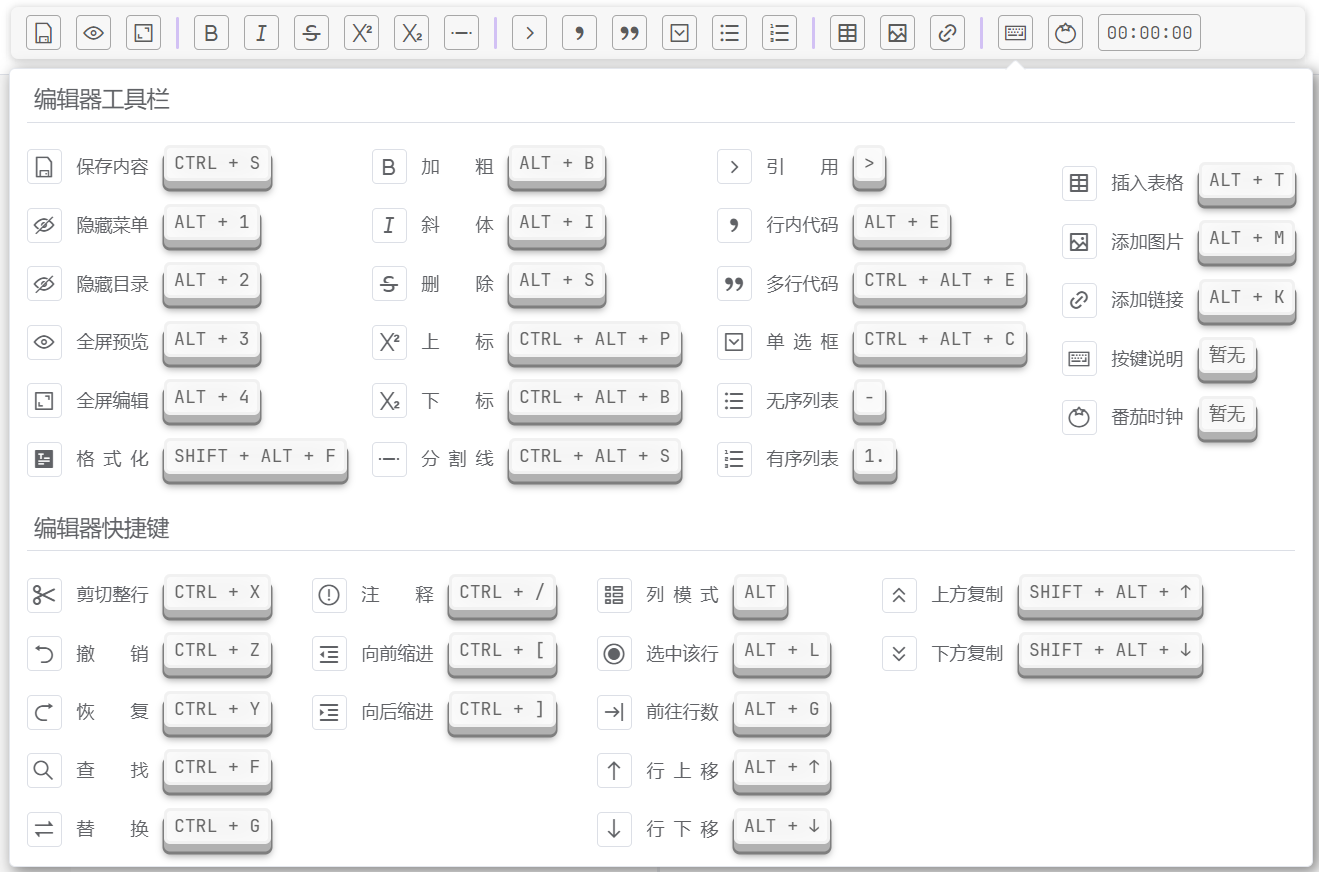
The toolbar, like most editors, consists of buttons for formatting operations. Currently, modifying shortcuts is not supported 🌟.
You can use Shift + Alt/Cmd + F to format Markdown documents.
Pomodoro Timer
The toolbar includes a Pomodoro timer, as shown below:
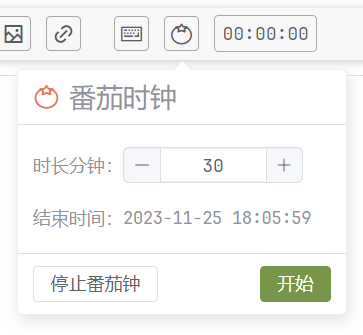
When clicked to start, the toolbar will add a gradually shortening background color to remind of the remaining time for the Pomodoro timer.
Floating Table of Contents
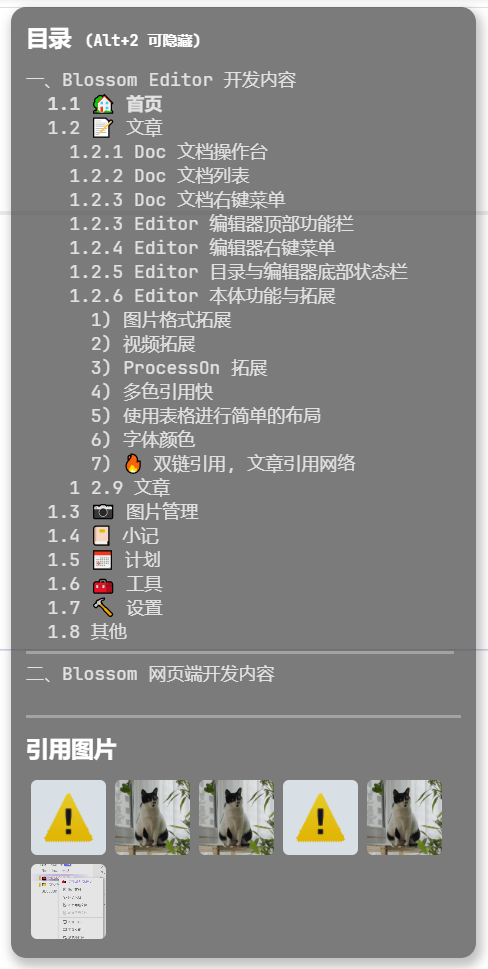
The floating table of contents for articles can be shown/hidden using the shortcut Alt/Cmd + 2. It can also be dragged to move its position.
Below the table of contents are the images used in the article. Clicking on them can enlarge them, making it easy to check if your images are broken or correct.
Status

The bottom status bar displays some basic information about the article.
On the right, the edit history can be viewed, and the reference network can be checked for articles related to the currently edited article.
Backup
Notes are backed up daily and compressed into a zip file, which is saved in the configured path. You can find the button to view backup files on the console.
Note backups come in multiple formats:
- Backup Markdown: Backs up all articles in Markdown format.
- Backup Local Markdown: Backs up all articles in local Markdown format and simultaneously backs up all images.
- Backup HTML: Backs up all articles in HTML format.
- Backup Local HTML: Backs up all articles in local HTML format and simultaneously backs up all images.
:::Tip The local format means that all image links will be modified to local image paths. This allows articles to be viewed without an internet connection and can be directly opened in local editors such as VS Code, Typora, etc. :::

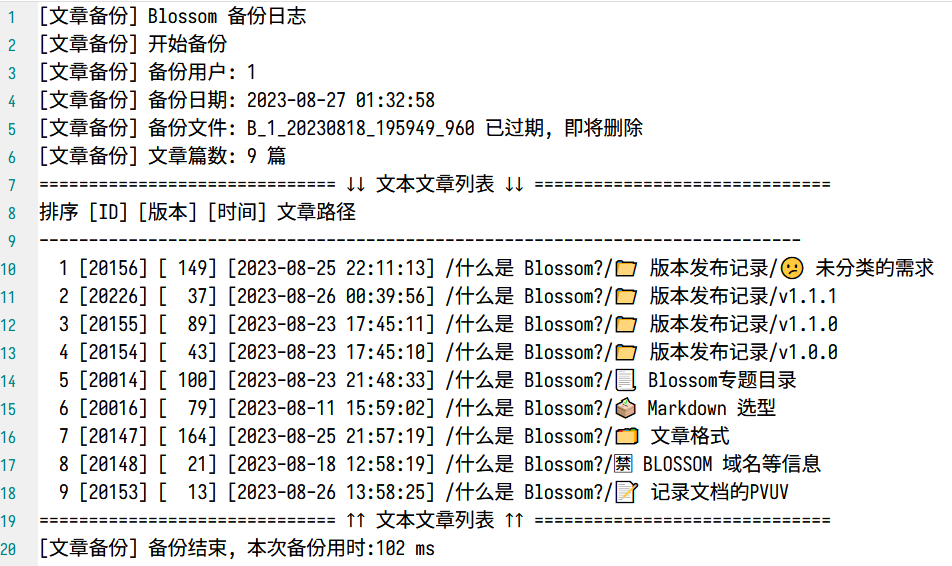
Clicking on the download button next to the corresponding file allows you to download the backup zip file. The zip file will contain a log.txt file, recording information about the backup, as shown below:
Full-Text Search
You can open the full-text search page in the console or use the shortcut Ctrl + Shift + F.
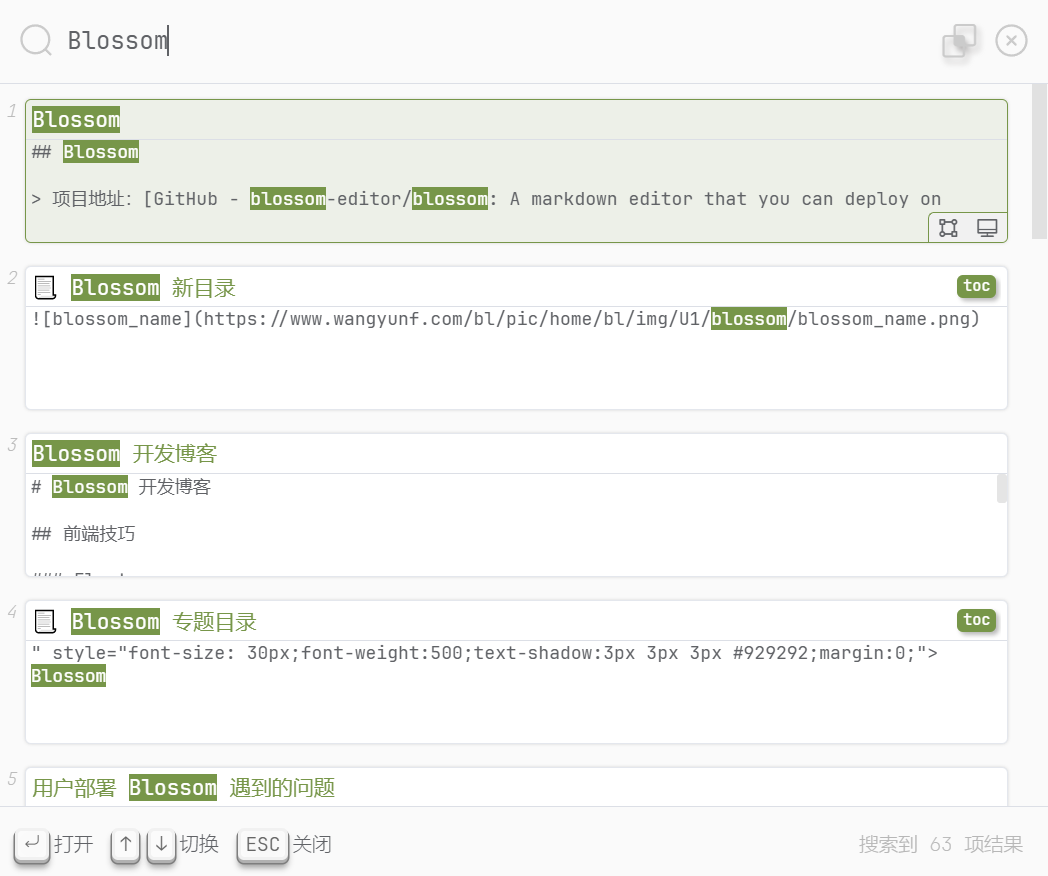
The icon in the top right corner has the following functions:
- Match all entered keywords.
- Clear the search box content.